Add or View Note
You can create notes to attach to resource orders in any section by viewing (![]() ) the order. The notes can be viewed from the Resource Orders page or in the Order Details.
) the order. The notes can be viewed from the Resource Orders page or in the Order Details.
View a Note
You can view notes for any order in any section.
- Click
 . The Notes page appears. Existing notes are listed by date.
 - Next to Display, select whether to see Notes and/or Handling eSignature Notes.
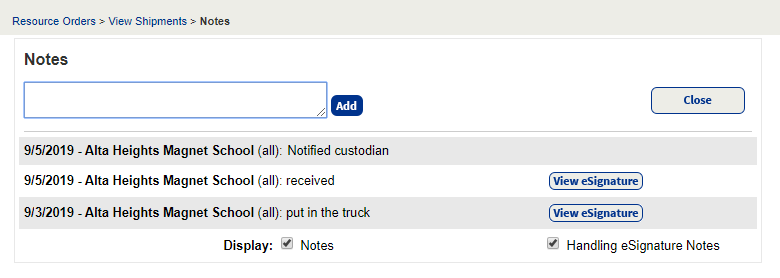
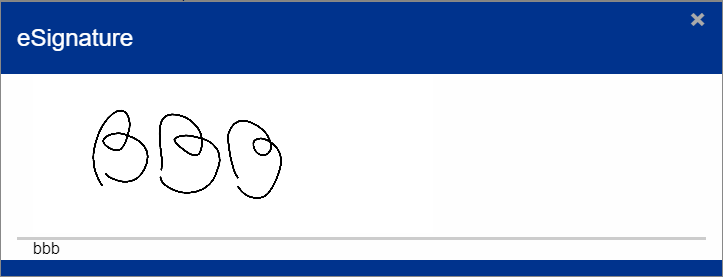
- To see an eSignature, click View eSignature.
- Click Close when finished.
You can add additional notes to any order (except denied orders), but eSignatures can only be completed using the VersaScan scanner device or the Follett Destiny Back Office app.
Add a Note
Additional notes can be added to existing notes on either the Resource Orders page or within an Order Details page. You can only create new notes by first viewing an order.
- Click . The Notes page appears.
- Enter information in the Notes field.
- Click Add. A dated note entry appears.
- Add another note, or click Close.